How to Achieve a Perfect Blow Dry at Home: Your Complete Guide
Table of Contents
Have you ever walked out of a salon with gloriously bouncy, smooth hair that makes you feel like you’re starring in your own shampoo commercial—only to find yourself struggling with a tangled mess of frizz the next time you try to blow dry your hair at home? We’ve all been there. That perfect, salon-quality blow dry often feels like a mysterious art form that only professionals can master.
But here’s the good news: achieving that same stunning blow dry at home isn’t just possible—it’s actually quite attainable when you know the right techniques. Whether you’re battling frizz, struggling with limp locks, or simply not sure which brush to use, this comprehensive guide will transform your blow-drying routine from frustrating to fabulous.
By the end of this article, you’ll have everything you need to create salon-worthy results regardless of your hair type, from the tools you should be using to step-by-step techniques that professional stylists swear by. Say goodbye to bad hair days and hello to gorgeous, confidence-boosting blow dries—right from your own bathroom!
Understanding Your Hair Type
Why Hair Type Matters for Blow Drying
Before you even pick up a blow dryer, understanding your specific hair type is crucial. Different hair types respond uniquely to heat, products, and styling techniques. What works beautifully for fine hair might leave thick hair frizzy and unmanageable. The key to a successful blow dry starts with recognizing your unique hair characteristics.
Common Hair Types
| Hair Type | Characteristics | Special Blow Drying Needs |
|---|---|---|
| Fine Hair | Thin strand diameter, gets oily quickly, lacks volume | Gentle heat, volumizing products, lightweight formulas |
| Thick Hair | Dense hair follicles, heavy, takes longer to dry | Higher heat settings, sectioning, smoothing products |
| Curly Hair | Various curl patterns (2A-4C), prone to frizz | Diffuser attachment, moisture-rich products, gentle touch |
| Straight Hair | Lacks natural texture, can appear flat | Volumizing techniques, texturizing products |
| Wavy Hair | Natural S-pattern, versatile styling options | Can enhance waves or straighten, medium heat |
| Damaged/Color-Treated | Porous, fragile, color-fade concerns | Extra heat protection, lower heat, nourishing products |
How to Determine Your Hair Type
Not sure which category you fall into? Here’s a simple test:
- Wash your hair and let it air dry completely without any products
- Observe how your hair dries naturally (curly, wavy, straight)
- Take a single strand and rub it between your fingers—fine hair feels barely there, while thick hair feels substantial
- Notice how quickly your hair gets oily at the roots (fine hair typically gets oily faster)
- Check how your hair responds to humidity (curly and wavy hair tends to frizz more)
Understanding these characteristics will help you choose the right tools and techniques for your blow dry routine.
Essential Tools and Products
Blow Dryers
The foundation of any great blow dry starts with the right dryer. Here’s what you need to know:
Types of Blow Dryers
- Ionic Dryers: Release negative ions that break down water molecules faster, reducing drying time and frizz. Ideal for thick, frizz-prone hair.
- Ceramic Dryers: Distribute heat evenly, preventing hot spots that can damage hair. Great for all hair types, especially damaged hair.
- Tourmaline Dryers: Combine ceramic and ionic technology for maximum smoothness and shine. Perfect for curly or frizzy hair.
Wattage Matters
- 1300-1800 watts: Suitable for fine or damaged hair
- 1800-2000 watts: Ideal for normal to thick hair
- 2000+ watts: Best for very thick, coarse, or curly hair
“Professional stylists recommend at least 1800 watts for efficient drying without excessive heat exposure. The faster your hair dries, the less damage occurs.” – Hair styling expert
Key Features to Look For
- Cool shot button: Sets your style and adds shine
- Concentrator nozzle: Directs airflow for precision styling
- Diffuser attachment: Distributes air evenly for curly hair
- Multiple heat/speed settings: Allows customization for your hair type
Brushes
The right brush can make or break your blow dry results:
Types of Brushes for Blow Drying
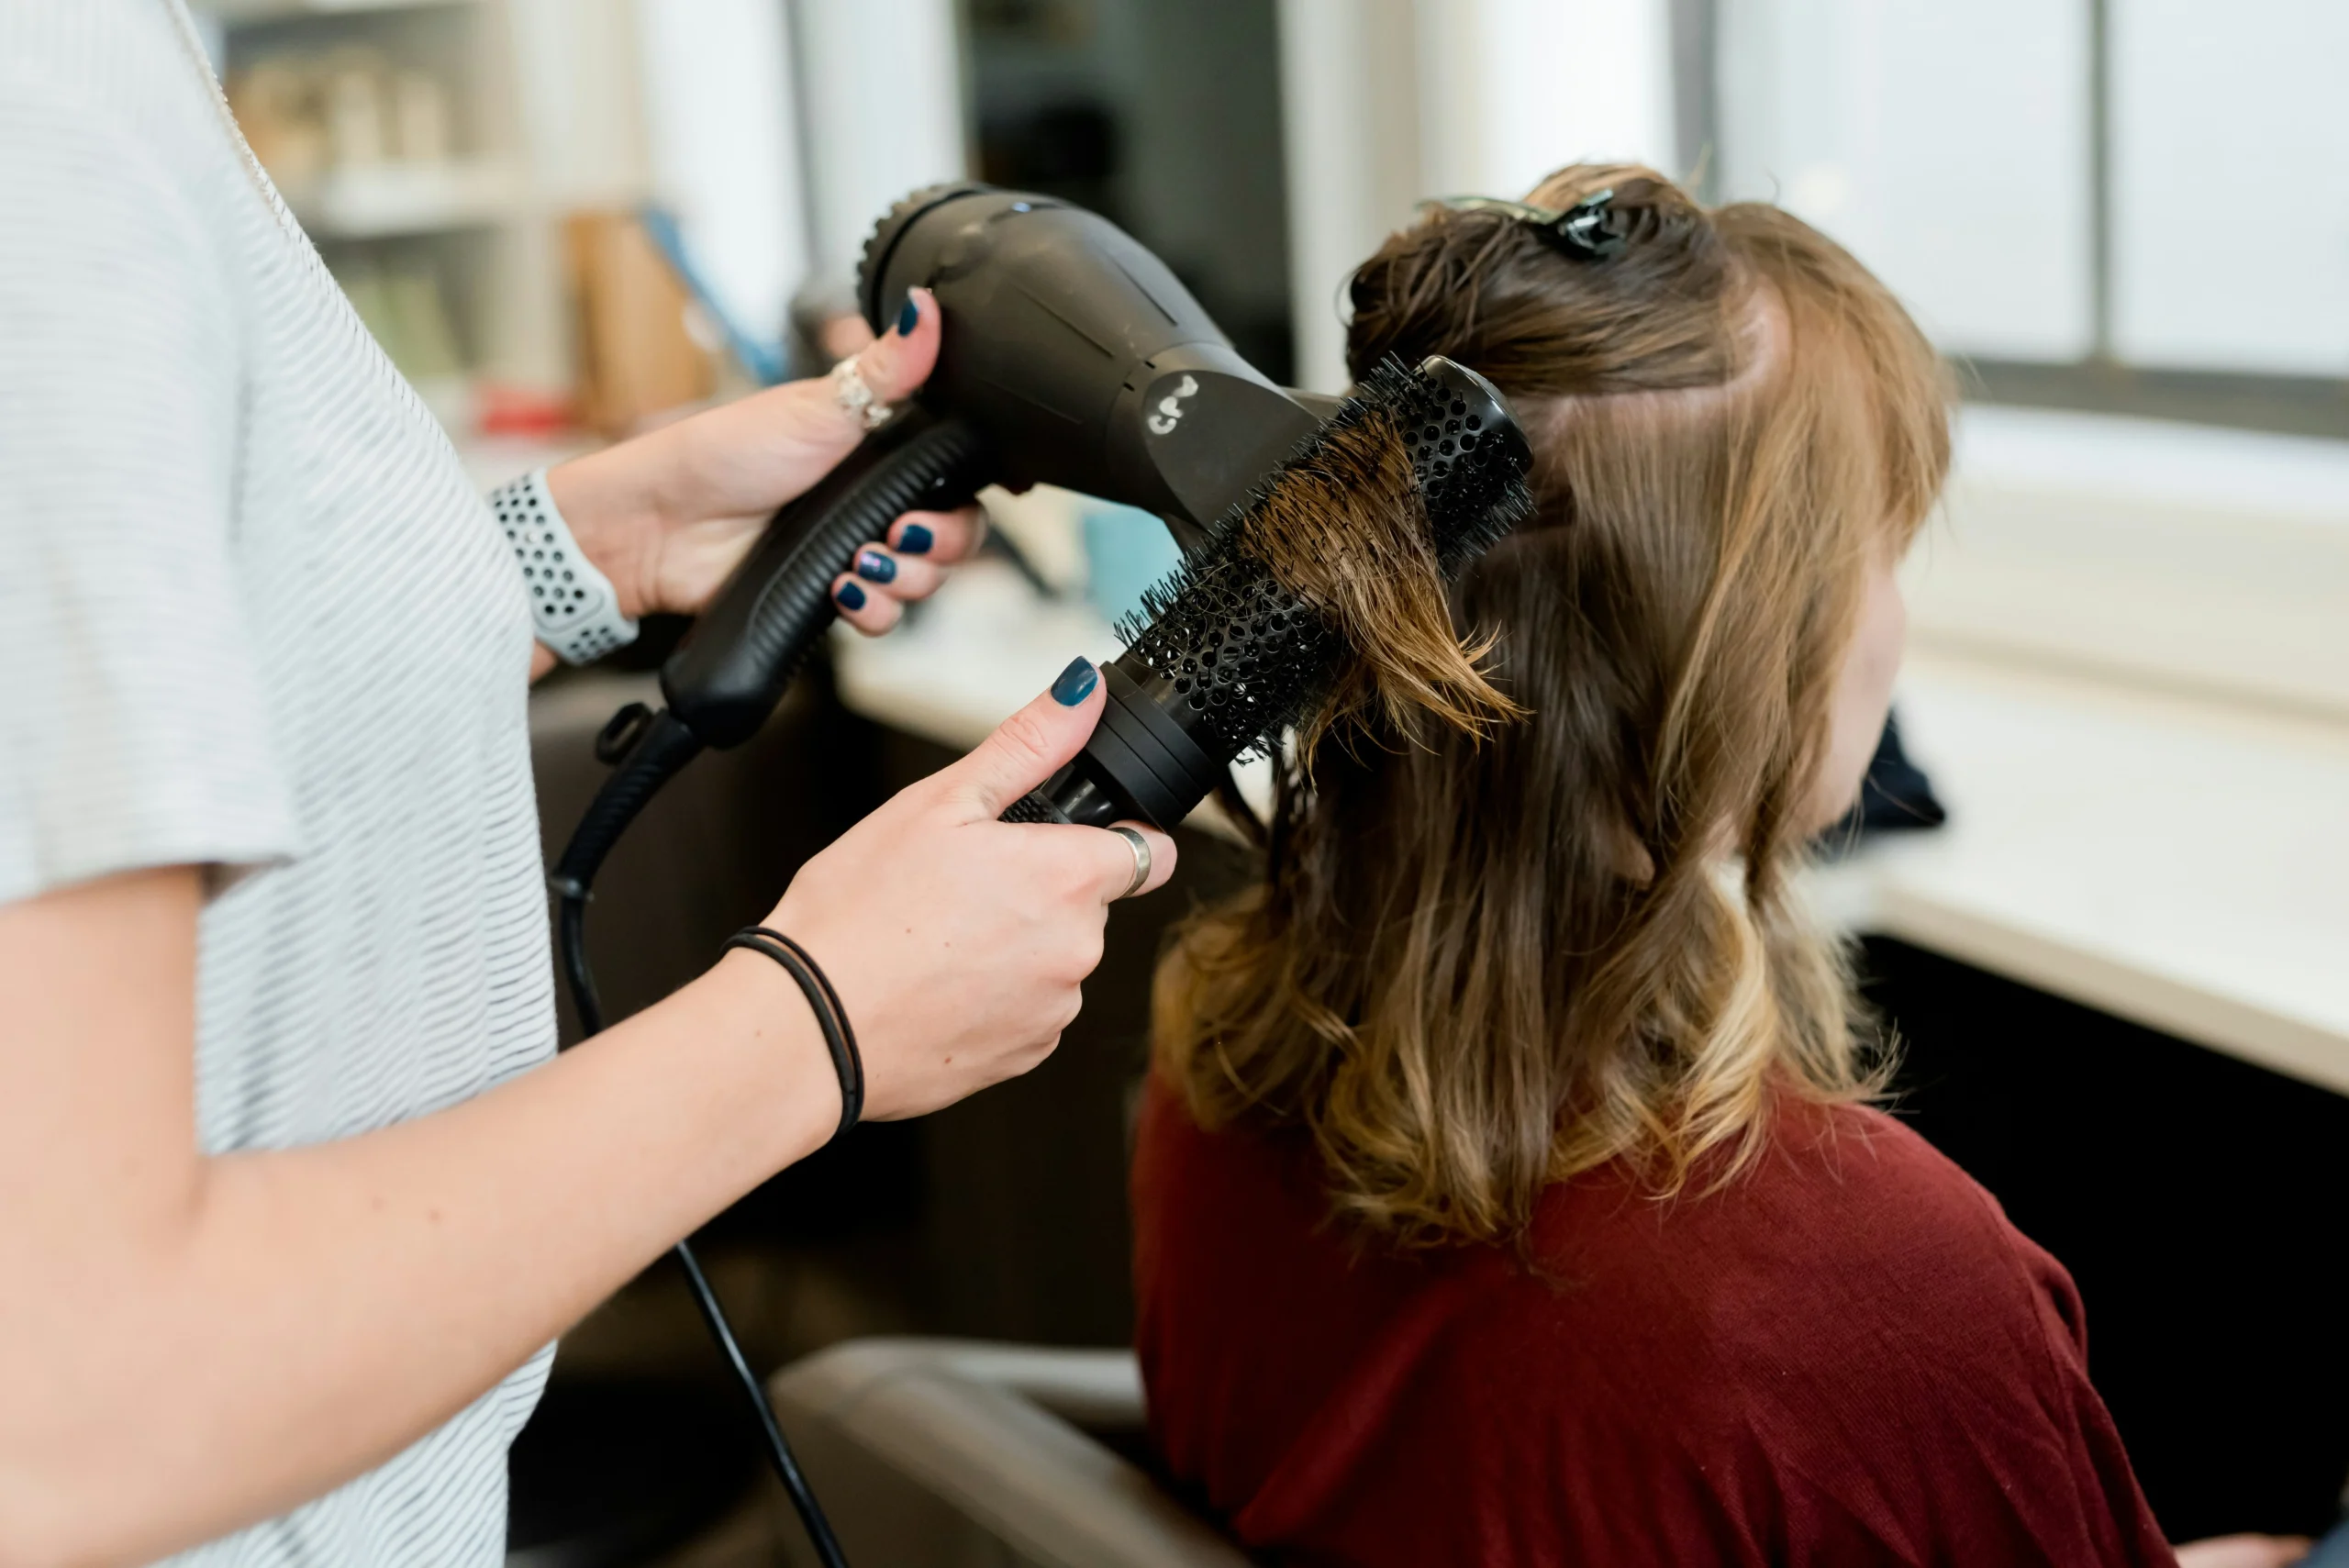
- Round Brush: Creates volume, curl, and movement. Larger barrels create looser curves, smaller barrels create tighter curls.
- Paddle Brush: Smooths and straightens hair while maintaining natural volume.
- Vent Brush: Allows airflow through the brush, speeding up drying time.
- Detangling Brush: Gently removes knots without breakage before styling.
Bristle Types
- Boar Bristle: Distributes natural oils, adds shine, gentle on hair. Best for fine to medium hair.
- Nylon Bristle: Provides stronger detangling power. Ideal for thick or coarse hair.
- Mixed Bristle: Combines benefits of both. Versatile for most hair types.
Heat Protectants
Never skip this step! Heat protection is non-negotiable when blow drying hair:
- Why it matters: Hair can sustain damage at temperatures as low as 347°F (175°C), and most blow dryers reach temperatures between 80-140°C (176-284°F)
- When to apply: Always on damp hair before any heat styling
- Coverage: Ensure every strand that will be exposed to heat is covered
Types of Heat Protectants
- Sprays: Lightweight, even application, good for fine to medium hair
- Serums: Concentrated protection, ideal for thick, coarse, or very dry hair
- Creams: Rich protection with added moisture, perfect for curly or damaged hair
Styling Products
Different hair types benefit from specific styling products during the blow dry process:
- Volumizing Products: Mousses and root lifters add body and fullness to fine or flat hair
- Smoothing Products: Serums and oils tame frizz and add shine to thick or curly hair
- Hold Products: Hairsprays and setting sprays lock in your style for longevity
Preparing Your Hair for Blow Drying
Proper Washing & Conditioning
How you wash your hair sets the foundation for a successful blow dry:
- Shampoo choice matters: Use sulfate-free formulas for color-treated hair, clarifying shampoos for oily hair, and moisturizing formulas for dry or curly hair
- Conditioning technique: Focus conditioner on mid-lengths to ends, avoiding the roots for fine hair types
- Water temperature: Rinse with cool water to seal the cuticle and enhance shine
Effective Towel Drying
Many blow dry disasters begin with improper towel drying:
- DO: Gently squeeze out excess moisture with a microfiber towel or soft cotton t-shirt
- DON’T: Rub vigorously, which causes friction, frizz, and breakage
- Optimal dampness: Your hair should be about 60-70% dry before you begin blow drying
Detangling Done Right
Knot-free hair is essential for smooth blow drying:
- Start from the ends and work your way up to prevent breakage
- Use a wide-tooth comb or specialized detangling brush on wet hair
- Apply a detangling spray if needed for stubborn knots
Heat Protectant Application
The crucial step no one should skip:
- Section hair into manageable parts
- Apply heat protectant evenly throughout all sections
- Use a wide-tooth comb to distribute product evenly
- Allow to absorb for 1-2 minutes before beginning to blow dry
Step-by-Step Blow Drying Techniques
Universal Tips for All Hair Types
Before diving into specific techniques, these principles apply to everyone:
- Distance matters: Keep the dryer about 6 inches away from your hair
- Direction of airflow: Always blow from roots to ends to smooth the cuticle
- Keep it moving: Never hold the dryer in one spot for more than a few seconds
- Temperature control: Use the highest setting your hair can tolerate without damage
- Finish cool: Always end with the cool shot button to set your style
Sectioning: The Secret to Success
Professional-looking results start with proper sectioning:
- Divide damp hair into 4-6 sections (more for thicker hair)
- Secure with sectioning clips
- Begin with bottom sections, working your way up
- Each section should be no wider than your brush
Techniques for Fine Hair
Goal: Create volume and body without weighing hair down
- Apply volumizing mousse or spray to damp roots
- Flip head upside down and rough dry until 80% dry
- Section hair and use a medium round brush
- Lift hair at the roots and direct heat there for 5-10 seconds
- Roll the brush away from the face, applying tension
- Use the cool shot on each section before releasing
Pro Tip for Fine Hair: For maximum volume, alternate the direction of your round brush (under, then over) as you move around your head.
Techniques for Thick Hair
Goal: Smooth, manageable results with reduced frizz
- Apply smoothing cream to damp hair
- Rough dry until 50% dry, using downward motions
- Section into smaller portions than you would for fine hair
- Use a large paddle brush or round brush depending on desired finish
- Apply firm tension and direct heat down the hair shaft
- Spend extra time on trouble spots (crown, hairline)
Techniques for Curly Hair
Goal: Define curls while minimizing frizz
- Apply curl-defining cream to very damp hair
- Attach the diffuser to your blow dryer
- Set to medium heat, low speed
- Cup curls in the diffuser, pushing upward toward the scalp
- Hold for 10-15 seconds, then release
- Avoid touching hair while drying to prevent frizz
- Dry to about 90%, then allow the rest to air dry
Techniques for Straight Hair
Goal: Add movement and volume to naturally straight locks
- Apply volumizing product at the roots and light serum on ends
- Rough dry until 70% dry
- Section hair and use a medium to large round brush
- Focus on lifting at the roots
- Create slight bends at the ends by rolling the brush under
- Use the cool shot to set each section
Troubleshooting Common Blow Drying Problems
Battling Frizz
Common causes: Excessive heat, humidity, dry hair, rough handling
Solutions:
- Lower the heat setting
- Apply an anti-frizz serum before drying
- Use an ionic blow dryer
- Ensure complete drying (moisture left in hair can cause frizz later)
- Finish with a cool shot to close the cuticle
Adding Volume When Hair Falls Flat
Common causes: Heavy products, fine hair texture, incorrect technique
Solutions:
- Use root lifting spray directly at the roots
- Dry hair upside down during the rough dry stage
- Use a smaller round brush to create more lift
- Try velcro rollers at the crown while hair cools
- Switch to lightweight, volumizing products
Preventing Heat Damage
Common signs: Split ends, dullness, brittleness, hair that breaks easily
Solutions:
- Always use heat protectant
- Lower the heat setting
- Increase your distance from the hair
- Limit blow drying to 2-3 times per week
- Invest in professional-quality tools that distribute heat more evenly
Making Your Style Last Longer
Common issues: Style deflates by midday, gets frizzy in humidity
Solutions:
- Use the cool shot button thoroughly on each section
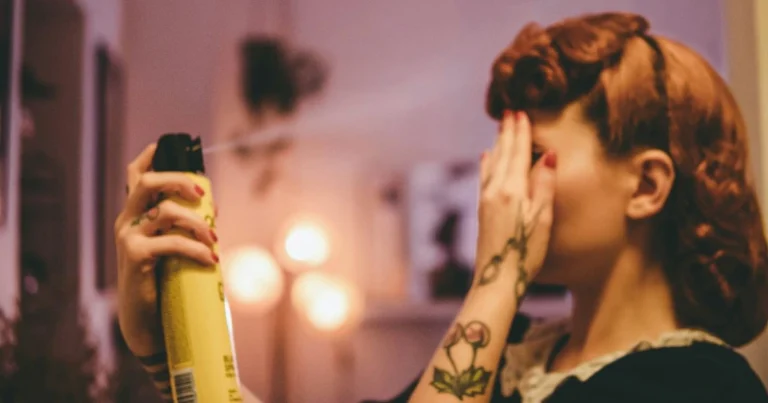
- Apply a light-hold hairspray when finished
- Sleep on a silk pillowcase to reduce friction
- Refresh with dry shampoo rather than washing
- Avoid touching your hair throughout the day
Maintaining Your Blow Dry
Make your hard work last with these maintenance tips:
- Overnight protection: Gather hair loosely at the crown with a silk scrunchie
- Morning refresh: Use dry shampoo at the roots and a light mist of water with a touch of leave-in conditioner on ends
- Humidity defense: Keep a travel-size anti-frizz serum in your bag for touch-ups
- Hands off: Minimize touching your hair, which transfers oils from fingers
- Quick fixes: Keep bobby pins and hair ties handy for days when your blow dry needs a style transition
Alternatives to Traditional Blow Drying
When you need a break from heat styling, consider these alternatives:
- Air drying with product: Apply styling cream to damp hair and allow to dry naturally
- Heatless curls: Try foam rollers, braiding damp hair, or silk hair wraps overnight
- Diffusing on low heat: Minimizes damage while enhancing natural texture
- Blow dry brushes: Combine brushing and drying in one step for less manipulation
Conclusion
Mastering the art of blow drying your hair at home is absolutely achievable with the right tools, techniques, and a little practice. Remember that understanding your unique hair type is the foundation of any successful styling routine.
Start by investing in quality tools suited to your specific needs—a good blow dryer, appropriate brushes, and effective heat protection products will make a world of difference. Then, follow the step-by-step techniques outlined for your hair type, paying special attention to proper sectioning and movement.
Don’t be discouraged if your first few attempts aren’t salon-perfect! Like any skill, blow drying improves with practice. Take photos of your results to track your progress and don’t hesitate to adjust techniques to find what works best for your unique hair.
We’d love to hear about your blow drying journey! Have you tried any of these techniques? Do you have additional tips that work wonders for your hair type? Share your experiences in the comments below, or tag us in your before-and-after photos on social media.
For more hair styling tips, product recommendations, and tutorials, sign up for our newsletter and never miss a beauty secret again!
Your perfect blow dry awaits—happy styling!


